
It is a classic event planning nightmare: your reporting dashboard clearly shows that your event still has 50 open spots, but a VIP emails you a screenshot of a “Capacity Reached” error blocking them from registering.
When this happens, the system is not broken. Cvent utilizes nested capacities and temporary “cart holds” to prevent overbooking. If your attendees are getting locked out early, the culprit is almost always one of the four scenarios below. Here is how to track down the block and clear it.
1. The Cart Hold: Abandoned Registrations
When an invitee begins filling out a registration form, Cvent temporarily reserves a spot for them so the event doesn’t sell out while they are typing in their credit card. However, if they get distracted and close their browser, that spot remains held in limbo.
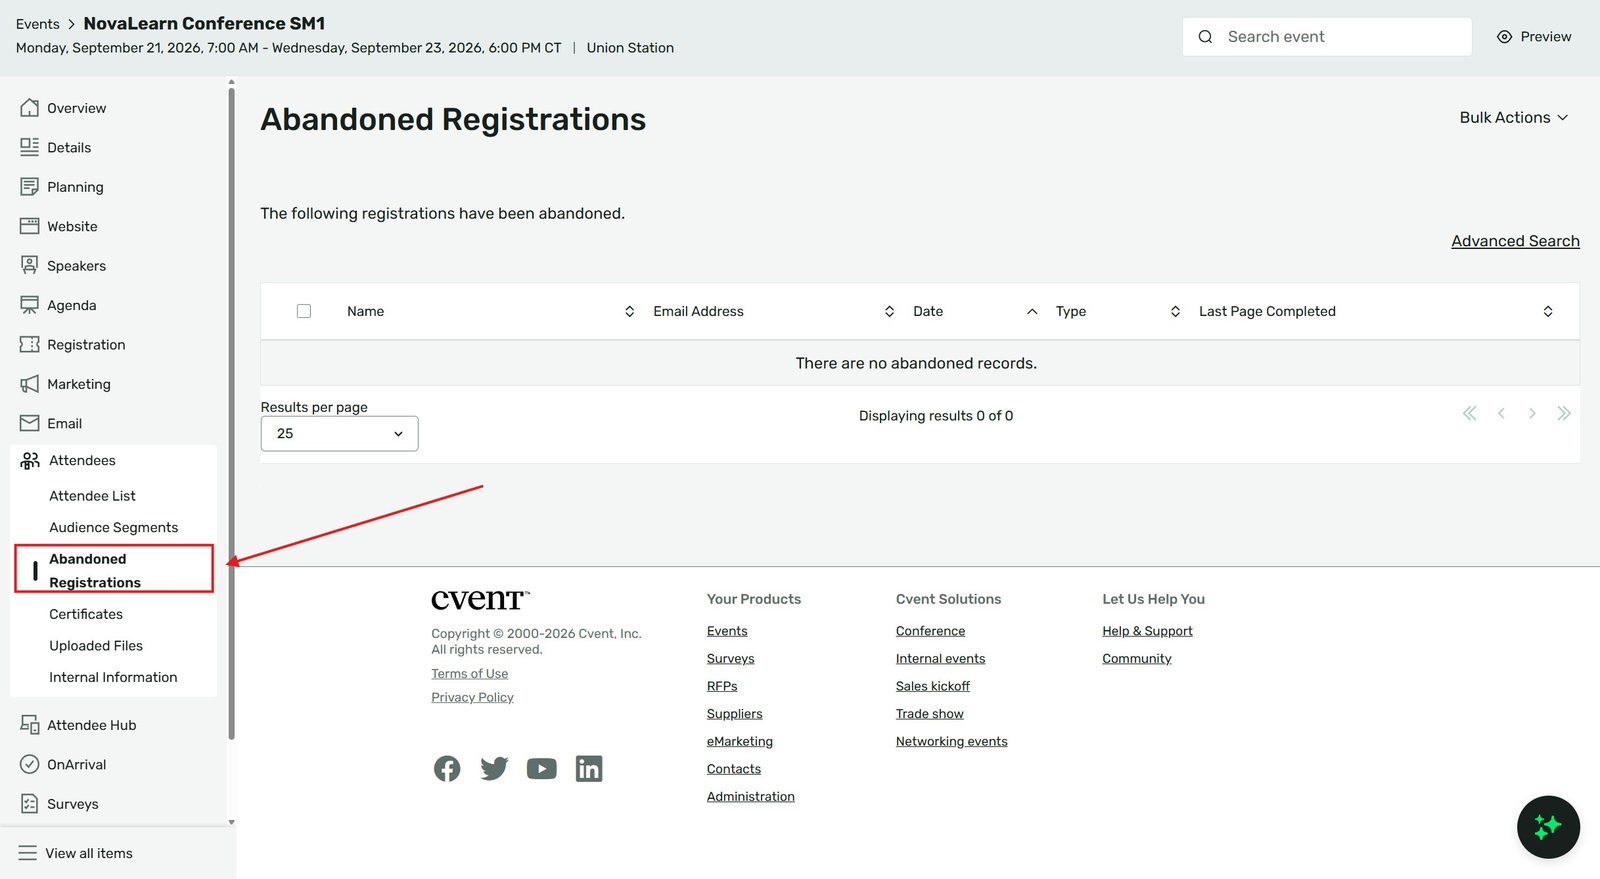
Invitees will be timed-out of registration after 20 minutes of idle activity. However, these invitees will only be added to the Abandoned Registrations list after a total of 40 minutes. Crucially, invitees will remain on the Abandoned Registrations list until they complete registration or are manually removed from the list. If you have 50 abandoned carts, those 50 spots are effectively stolen from your overall capacity.
How to Fix It:
From the Event navigation, hover over Attendees, then click Abandoned Registrations.
Your results will appear in a table below.
To manage the invitees, check the boxes next to the names, hover over Bulk Actions, and make a selection.
Select one of the options to Delete Abandoned Registrations to instantly release those spots back into your active inventory.
2. Admission Item Capacity is Capped
Cvent allows you to set an overall headcount for the whole event, but also micro-capacities for specific tickets. You might have room for 500 people overall, but if your “General Admission” item is capped at 450, the 451st person will be rejected.
Establish a capacity to keep your headcount under control. Once the entered number is reached, no one else will be able to register for this admission item.
How to Fix It:
From the Event navigation, hover over Registration, then click Admission Items.
Open an admission item by clicking on its name.
Click Edit.
Look at the Status & Capacity section. Ensure the capacity number entered here isn’t artificially choking off your event before your overall event capacity is met.
3. Conflicting Group Registration Counts
If you allow attendees to bring colleagues or spouses, they might hit a wall during checkout if they try to squeeze a large group into a small remaining inventory block.
Each group member will count individually toward the event’s overall capacity as well as the capacity of any relevant agenda items. If your event only has 3 spots left, and a group leader attempts to register a group of 4, the system will block the entire transaction and display a capacity error.
How to Fix It:
Check your remaining event capacity against the size of the group attempting to register.
If necessary, you can limit how many guests an invitee can bring based on the admission item they select.
Navigate to Registration > Admission Items, access the Advanced Settings tab, and edit the Guest Capacity section to restrict the maximum group size.
4. Waitlist Triggers and Registration Paths
Sometimes planners set up a specific limit for a specific Registration Path (e.g., “Only 50 VIPs allowed”). If the 51st VIP tries to register, they will be blocked. But a major source of confusion is why the waitlist doesn’t kick in for them.
Although you can enable the waitlist setting at the registration path level, the waitlist will only activate when the overall event capacity is reached, not when an individual registration path reaches its capacity.
How to Fix It: If you need waitlist behavior limited to a specific path without closing the entire event, consider using Manual Registration Approval on that path as a workaround.
Agency Pro-Tip: Make it a habit to check your Abandoned Registrations list daily when an event is nearing its capacity limit. Clearing out dead carts is the fastest way to squeeze in a few extra legitimate attendees without having to negotiate larger venue maximums.
Key Takeaways
Clear dead carts: Incomplete registrations hold spots. Manually clear your Abandoned Registrations list to return that inventory to your event.
Check ticket limits: An event might not be full, but if the specific Admission Item a user is trying to select has hit its own capacity, they will be blocked.
Groups consume capacity: Every single guest or group member added during checkout inherently counts against the primary event capacity.
Waitlists are global: Native waitlists only trigger when the entire event is full, not when a sub-path fills up.